Preparing for Northern Lights Photography in Cold and Harsh Arctic Conditions
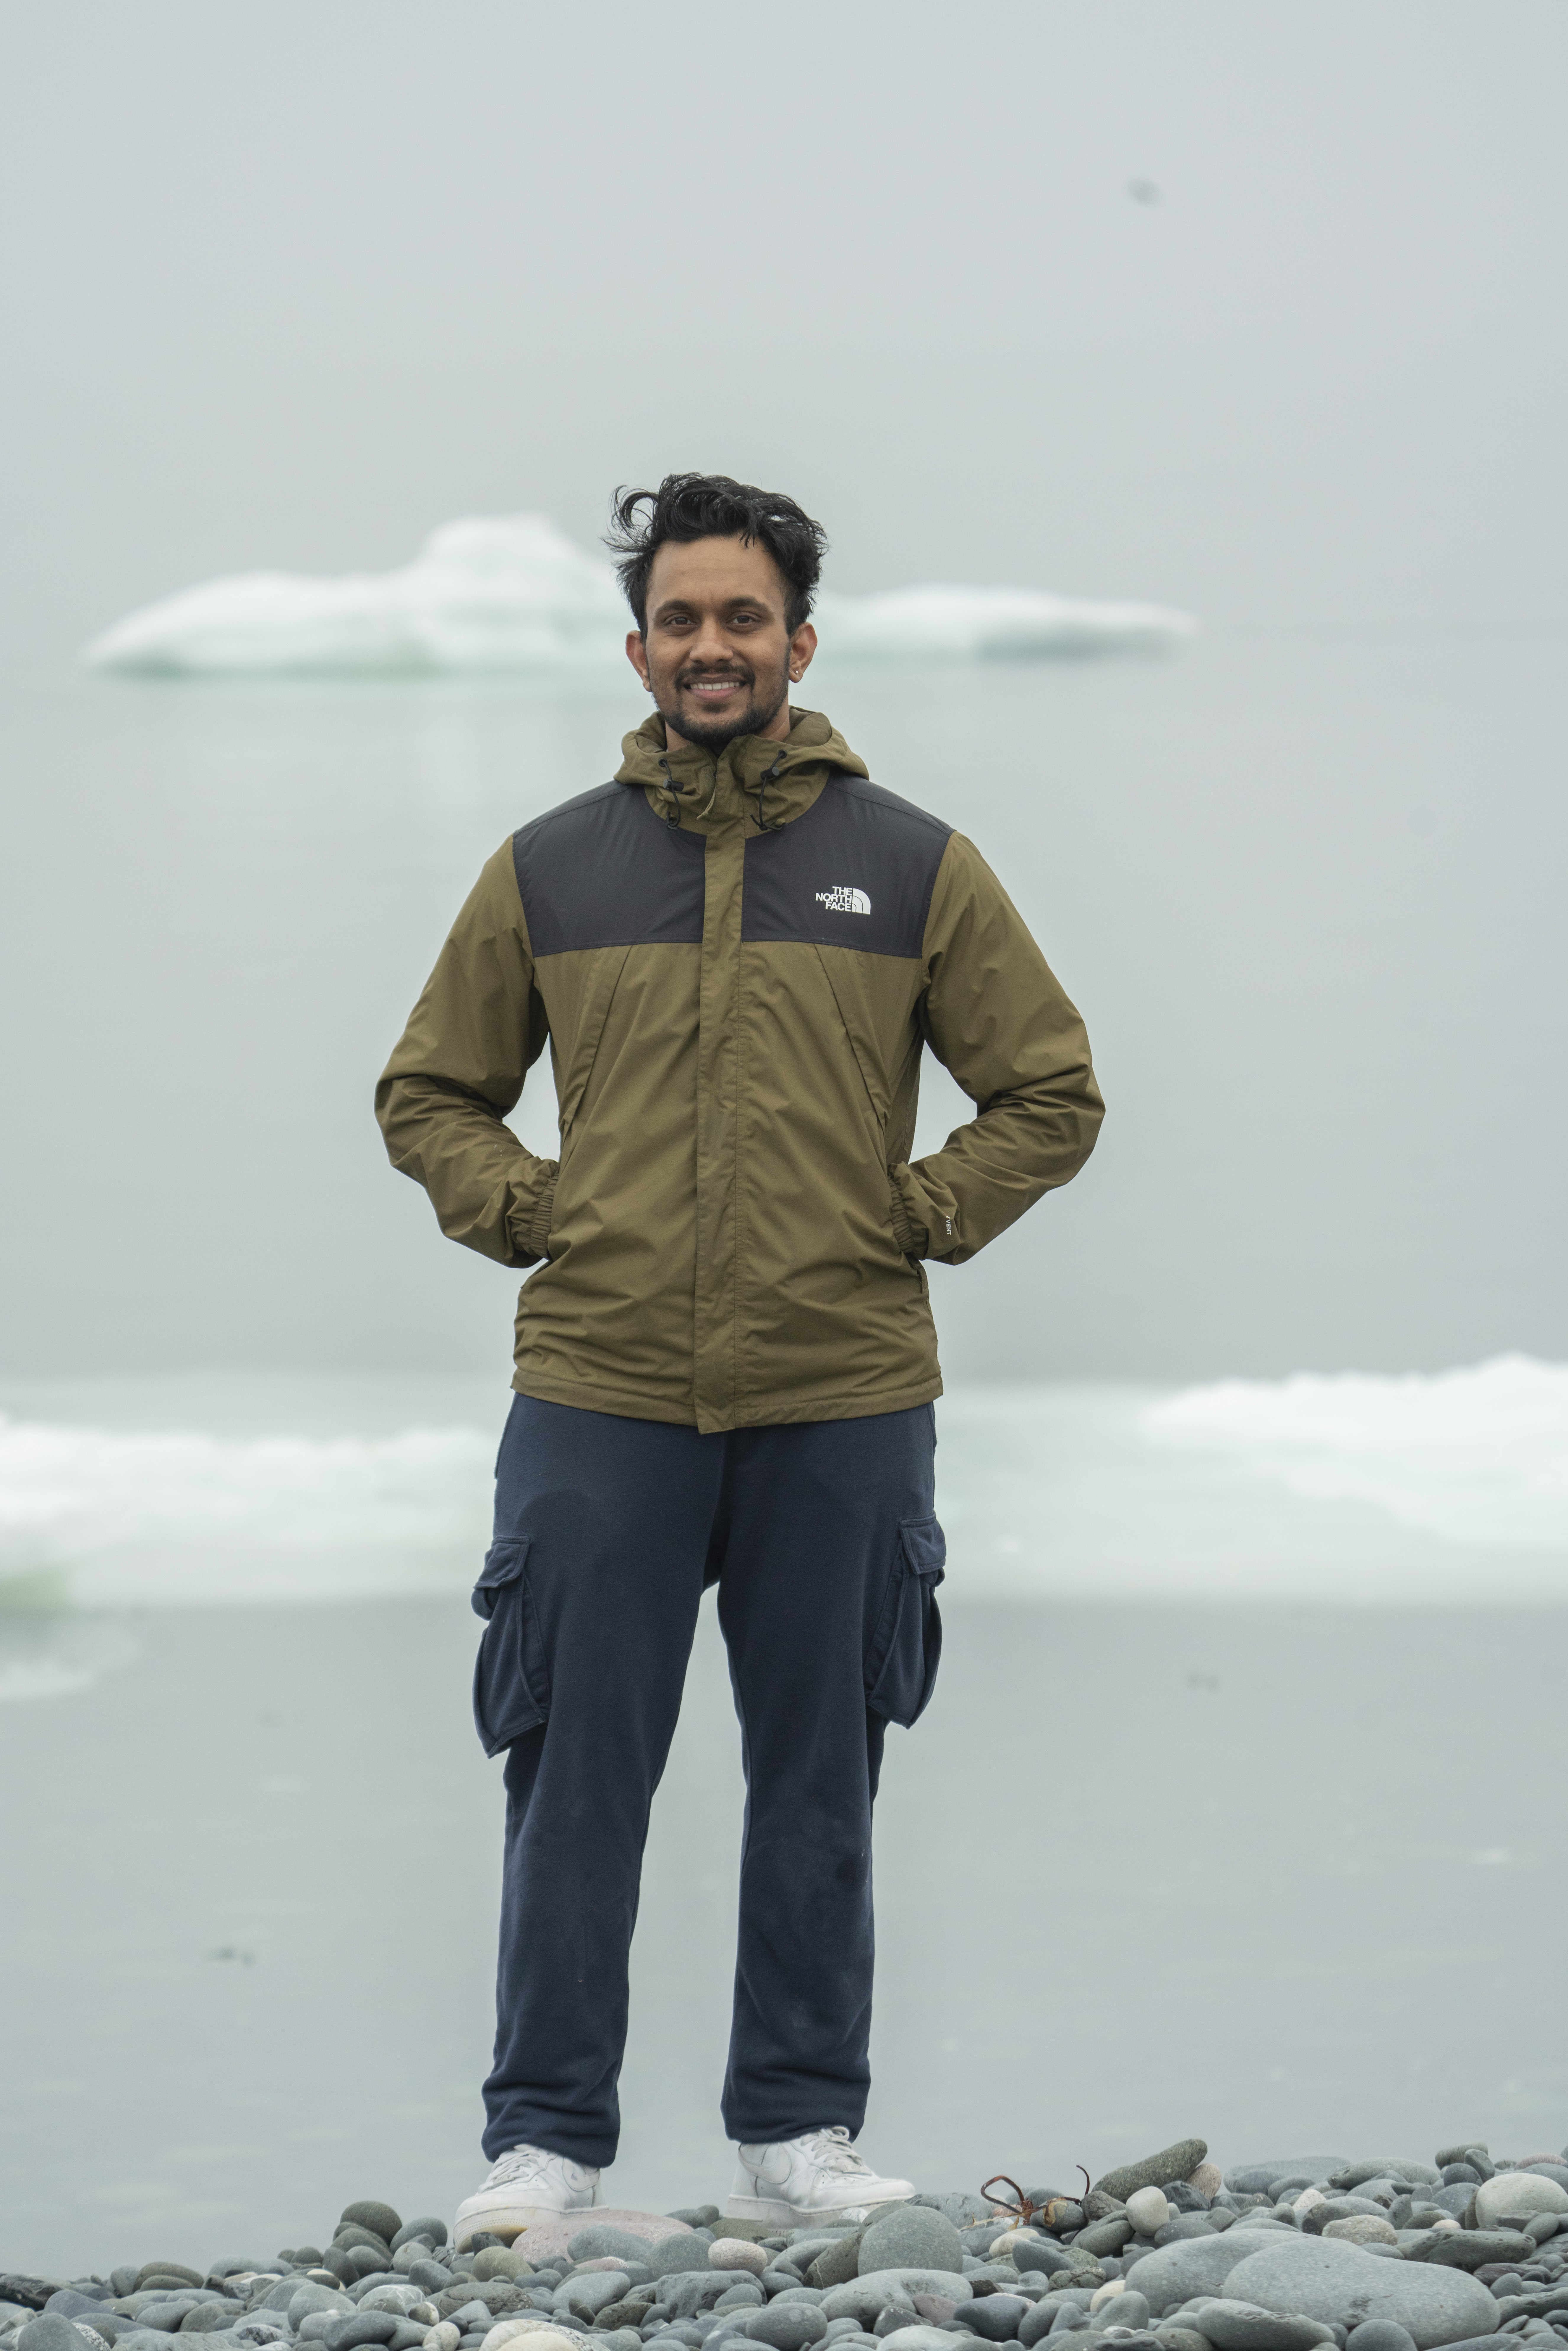
Few experiences compare to standing beneath a sky alive with dancing green, purple, and red ribbons of light. Photographing the Northern Lights is both rewarding and challenging, especially in the Arctic, where freezing temperatures, strong winds, and long hours in the dark can quickly test your endurance. Over the years of photographing in Nunavut, I've learned that capturing an incredible aurora image is often less about the camera and more about preparation.
Whether you're a beginner or an experienced photographer, here's how to prepare yourself for a successful night of Northern Lights photography in cold and harsh climates.

Dress for Survival, Not Comfort
The biggest mistake many photographers make is dressing for the walk to the location rather than the hours they will spend standing still. Once you stop moving and begin waiting for the aurora to appear, your body loses heat rapidly.
Start with a moisture-wicking base layer to keep sweat away from your skin. Add an insulating mid-layer such as fleece or wool, followed by a windproof and waterproof outer shell. A quality parka rated for Arctic conditions can make all the difference during long nights outdoors.
Don't forget your extremities. Wear insulated boots, thick wool socks, warm gloves, and a toque that covers your ears. Many Northern Lights photographers prefer thin liner gloves underneath heavier mitts so they can operate camera controls without exposing their hands to the cold for long periods.
Remember, no photo is worth risking frostbite.
Prepare Your Camera Before Going Outside
Cold weather drains batteries far faster than most photographers expect. A battery that lasts all day indoors may lose power in a fraction of the time when temperatures drop below freezing.
Carry multiple spare batteries and keep them inside an inner pocket close to your body. The warmth from your body can help preserve battery life. When one battery dies, it may even regain enough charge to be usable again after warming up.
Before heading out, ensure:
Batteries are fully charged.
Memory cards have enough free space.
Lens elements are clean.
Tripod locks are functioning properly.
Camera settings are preconfigured.
The less time you spend adjusting settings in the cold, the more time you can focus on capturing the aurora.
Choose the Right Location
Finding a dark location is just as important as finding strong aurora activity.
Escape as much light pollution as possible by moving away from streetlights and illuminated buildings. In places like Iqaluit, even a short drive away from town can dramatically improve visibility and image quality.
Look for interesting foreground elements that tell a story about the location. Snow-covered hills, inuksuit, cabins, frozen shorelines, or dramatic Arctic landscapes can transform a simple aurora photograph into a memorable image.
Scout locations during daylight whenever possible. Familiarizing yourself with the terrain helps you move safely at night and identify strong compositions before darkness falls.
Monitor Weather and Aurora Forecasts
The strongest aurora in the world means very little if thick clouds cover the sky.
Before heading out, monitor both weather conditions and aurora forecasts. Clear skies are essential. Pay close attention to cloud cover, wind conditions, and temperature forecasts.
While forecasting tools can provide valuable guidance, patience remains one of the most valuable skills for aurora photography. Conditions can change quickly in the Arctic, and some of the most spectacular displays appear when you least expect them.
Master Basic Aurora Camera Settings
You don't need the most expensive camera to photograph the Northern Lights, but understanding your settings is essential.
A good starting point includes:
Manual mode
Wide-angle lens
Aperture: f/1.8 to f/4
ISO: 800 to 3200
Shutter speed: 5 to 20 seconds
Manual focus set to infinity
Every aurora display is different. Fast-moving lights may require shorter shutter speeds, while faint displays may benefit from longer exposures.
Take test shots, review your results, and adjust accordingly.
Protect Your Gear from Condensation
One of the most overlooked challenges in Arctic photography occurs after you return indoors.
Moving a cold camera into a warm building causes condensation to form on both the exterior and interior of your equipment. Moisture can damage electronics and lenses if you're not careful.
To reduce condensation:
Place your camera in a sealed bag before going indoors.
Leave it sealed until it reaches room temperature.
Avoid changing lenses unnecessarily in snowy or humid conditions.
A little patience can significantly extend the life of your equipment.
Carry Essential Safety Gear
The Arctic environment demands respect.
Always tell someone where you're going and when you expect to return. Carry a headlamp, extra batteries, emergency supplies, and a fully charged phone. In remote areas, additional communication devices may be necessary.
Weather conditions can change rapidly, and temperatures can drop unexpectedly. The goal is to return safely with great photographs, not just to capture beautiful images.
Enjoy the Experience
It's easy to become so focused on camera settings and technical details that you forget to look up.
Some of my favorite memories in Nunavut didn't end up on a memory card. They were moments spent standing beneath a sky illuminated by nature's most spectacular light show, surrounded by silence and the vastness of the Arctic landscape.
Take your photographs, but also take a few moments to simply experience the wonder above you.
The Northern Lights are more than a photography subject. They are a reminder of how extraordinary our world can be. With proper preparation, patience, and respect for the environment, you'll not only come home with incredible images but also with stories and memories that will last a lifetime.


Comments